poe@pcbamake.com


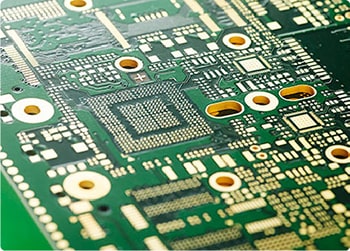
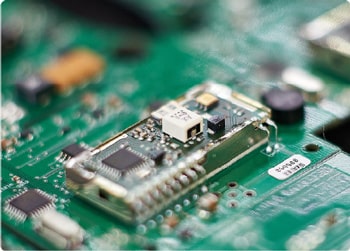
What is the difference between SMD components and plug-in components in PCBA processing? In PCBA processing, SMD components and plug-in components are used. So, what is the difference between patch components and plug-in components?
The difference between patch components and plug-in components
The difference between the two:
1. SMD components are small in size and light in weight, and are easier to solder than plug-in components.
2. SMD components have a very important benefit, which is to improve the stability and reliability of the circuit; because SMD components have no leads, stray electric fields and magnetic fields are reduced, which is effective in high-frequency analog circuits and high-speed digital circuits. Especially obvious.
The welding method of the two
1. The method of soldering SMD components: put the components on the pad, apply the adjusted SMD solder paste on the contact between the surface of the component and the pad, and then use a 20W internal heating electric soldering iron to solder the pad and SMD components Heat the connection (the temperature should be 220~230°C), remove the electric soldering iron after seeing the solder melted, and complete the soldering after the solder solidifies. After soldering, you can use tweezers to clamp the soldered SMD components to see if there is any looseness. If there is no looseness, it means that the soldering is good. If there is looseness, you should reapply some solder paste and solder according to the above method.
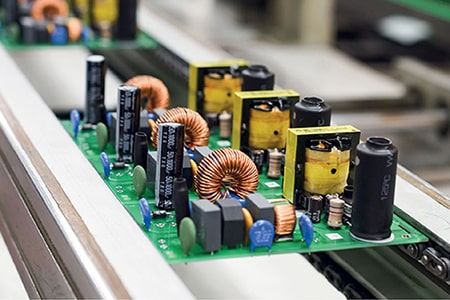
2. The method of soldering plug-in components: When soldering all the pins, solder should be added to the tip of the soldering iron, and all the pins should be coated with flux to keep the pins moist. Touch the tip of the soldering iron to the end of each pin on the chip until the solder flows into the pin. After all the pins are soldered, wet the pins with flux to clean the solder to eliminate any shorts and laps. Finally, use tweezers to check whether there is any false soldering. After the inspection is completed, remove the flux from the circuit board, dip a hard-bristled brush in alcohol and wipe it carefully along the direction of the pins until the flux disappears.
If you have PCB/PCBA/OEM/ODM needs, please contact us, We will reply within 2 hours, and complete the quotation within 4 hours or less upon request.
Delivery Services

Verified by

Link Us on